
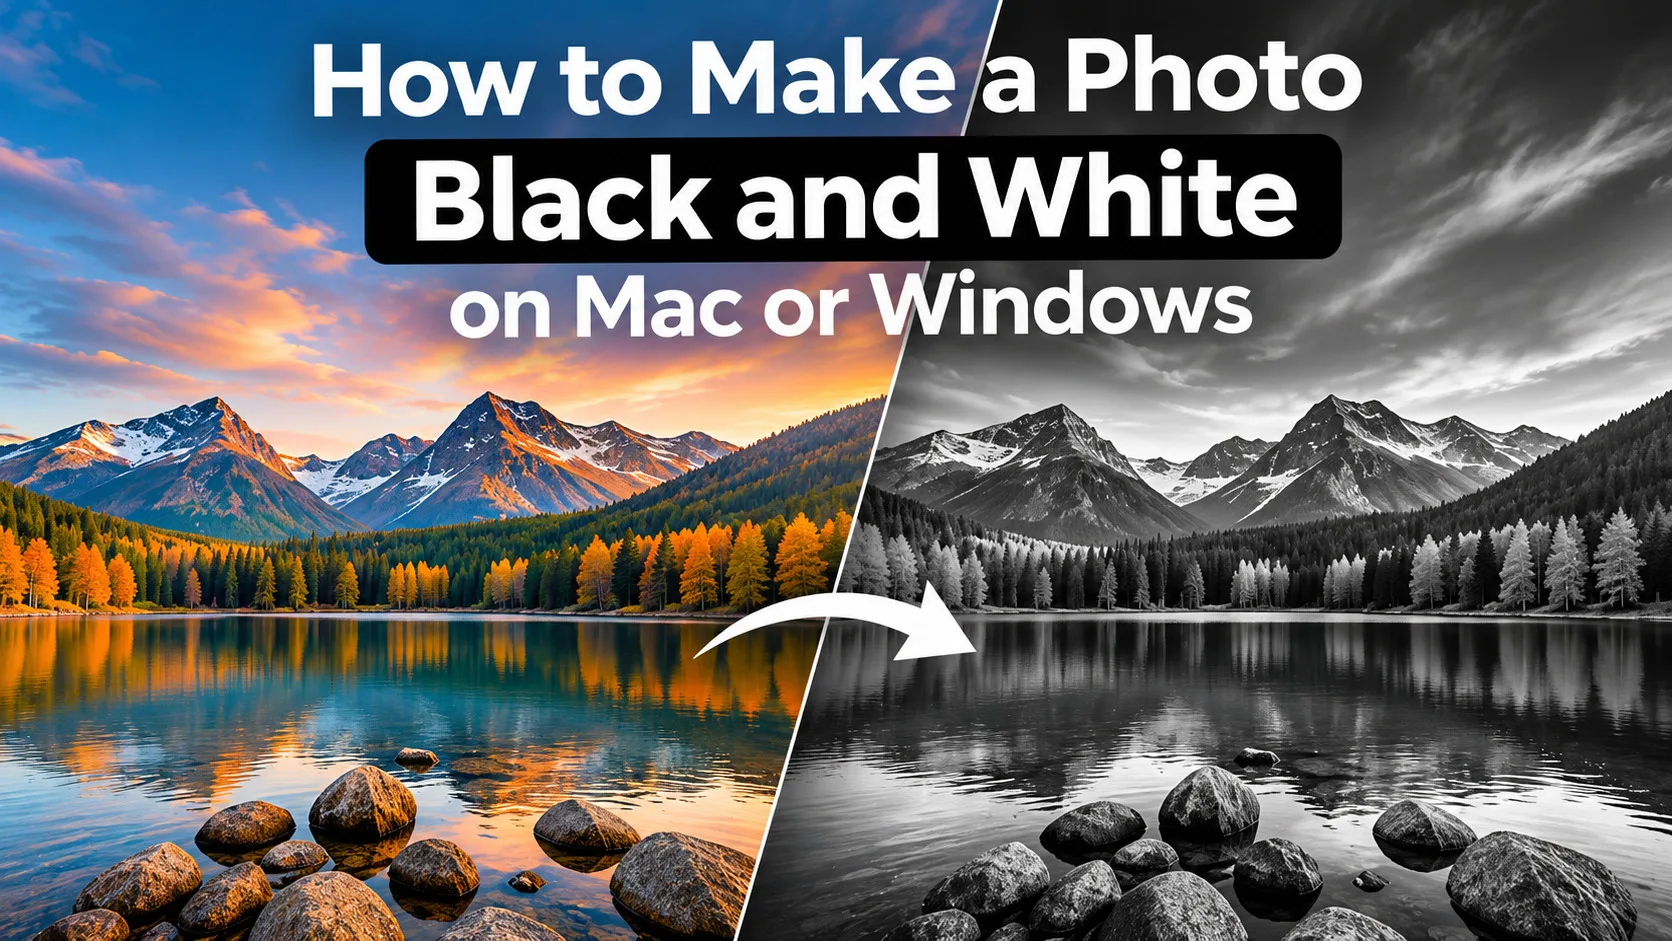
Learn How to Make a Photo Black and White on Mac or Windows
Turning a colour photograph into black and white is one of the simplest ways to give an image a completely different appearance. Removing colour can reveal textures, emphasise shapes, strengthen composition and create a more timeless photographic style.
But there’s a difference between simply removing colour from a photograph and creating a carefully balanced black and white image.
In this guide, I will explain how to make a photo black and white on a Mac or Windows computer, how to improve the conversion, and how to achieve more attractive monochrome results using a few straightforward editing techniques.
Why Convert a Colour Photo to Black and White?
Black and white photography encourages viewers to concentrate on the elements that make a photograph work: light, shadow, texture, contrast and composition.
Without colour competing for attention, details that might otherwise go unnoticed can become much more prominent.
Black and white conversion can be particularly effective for:
- Portrait photography: Emphasising facial expressions, character and lighting.
- Landscape photography: Highlighting cloud formations, textures and dramatic lighting.
- Street photography: Drawing attention to shapes, shadows and everyday moments.
- Architecture: Revealing geometric patterns, lines and structural details.
- Fine art photography: Creating photographs with a distinctive mood and tonal character.
However, not every colour photograph automatically becomes a successful black and white image. The way different colours are translated into shades of grey makes an enormous difference.
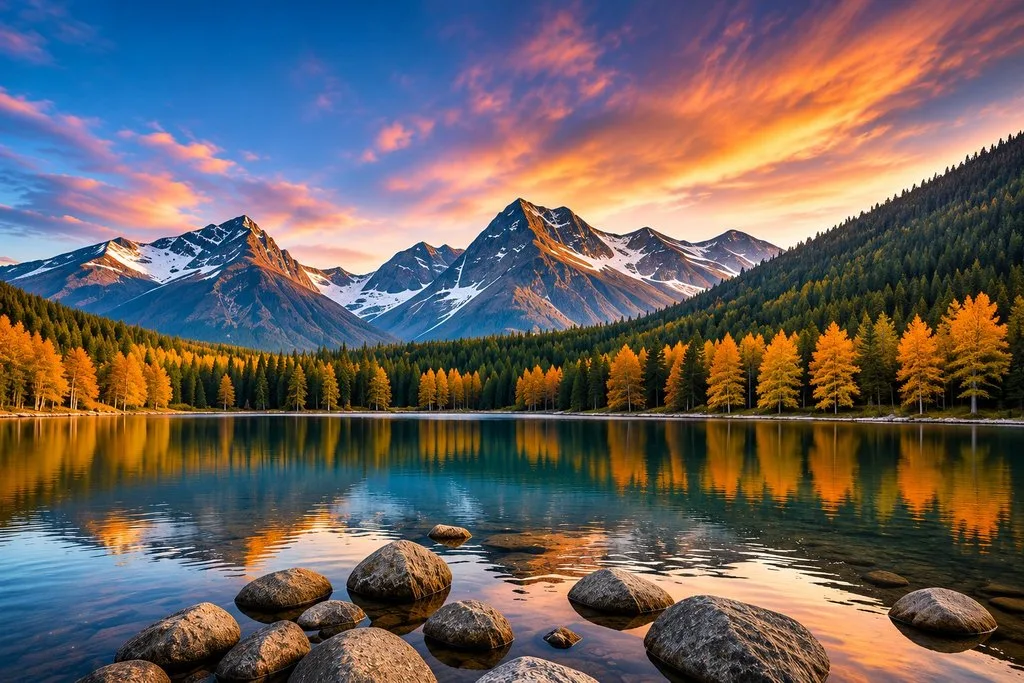
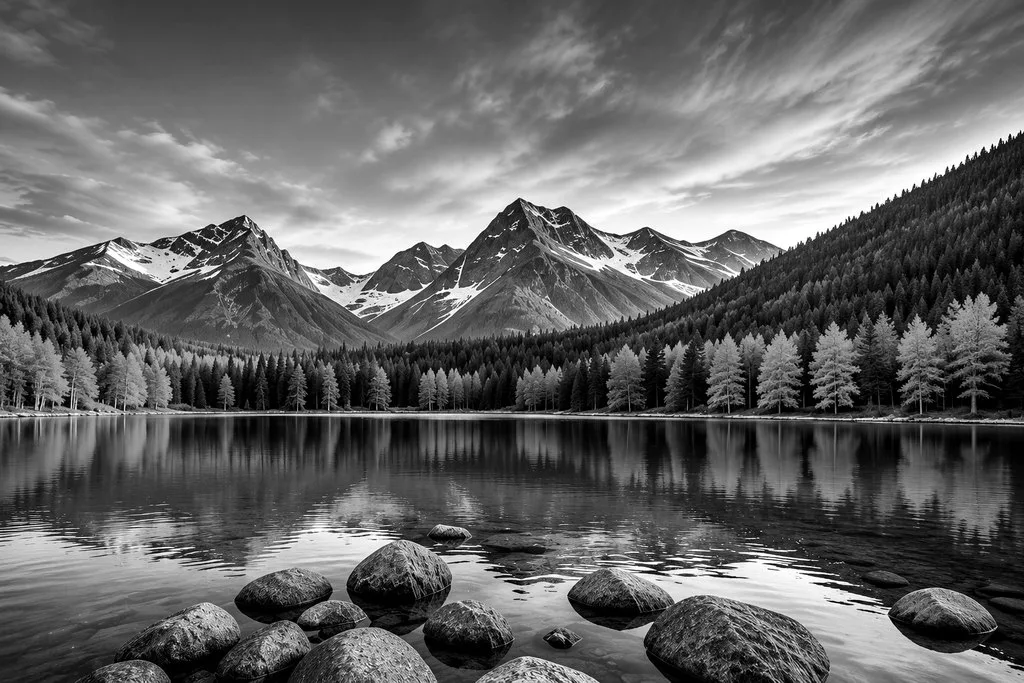
Step 1: Choose a Suitable Colour Photograph
Start with a photograph that contains interesting lighting, clearly defined shapes or a good range of tones.
Images with strong highlights and shadows often work particularly well, but photographs with softer lighting can also produce beautiful monochrome results.
Look for photographs containing:
- Interesting textures and details.
- A clear subject.
- Distinct areas of light and shadow.
- Strong shapes or leading lines.
- Colours that can be separated into different grey tones.
For example, a red flower surrounded by green leaves may have strong colour contrast. However, when converted directly into greyscale, the flower and leaves might become surprisingly similar shades of grey.
This is where a more controlled black and white conversion becomes useful.
Step 2: Convert Your Photo to Black and White
There are several ways to make a photograph black and white on a Mac or Windows computer.
The simplest method is to use a photo editor’s greyscale or black and white conversion option.
This removes the visible colour information and produces a monochrome image.
For quick conversions, that may be sufficient.
However, basic greyscale conversion provides limited control over how the original colours are represented.
A dedicated black and white editor can offer greater flexibility by allowing you to adjust the contribution of individual colours to the final monochrome photograph.
Understanding the Black and White Mixer
A black and white mixer lets you influence how different colours in the original photograph translate into shades of grey.
For example:
- Adjusting the blue contribution can change the brightness of a blue sky.
- Adjusting green can influence the appearance of foliage.
- Adjusting red and orange can affect skin tones and other warm-coloured subjects.
- Adjusting yellow can help separate certain landscape details.
These adjustments allow you to create tonal separation between subjects that might otherwise appear similar after conversion.
The goal isn’t necessarily to produce the strongest contrast possible. It’s to create a pleasing balance of tones that supports the photograph.
Step 3: Adjust Brightness and Contrast
Once your photograph has been converted to black and white, examine its overall tonal balance.
Does the image appear too flat? Are the highlights excessively bright? Have important shadow details disappeared?
Brightness and contrast adjustments can help improve the result.
Adjusting Exposure
Exposure controls influence the overall brightness of the photograph.
If the image appears too dark, increasing exposure may reveal more detail. If it appears too bright, reducing exposure can help recover a more balanced appearance, depending on the information available in the original image.
Try to avoid making adjustments that remove important highlight or shadow detail.
Adjusting Contrast
Contrast describes the difference between the lighter and darker areas of a photograph.
Increasing contrast can create a more dramatic appearance, while reducing it can produce a softer result.
Neither approach is automatically better.
A misty landscape might benefit from gentle contrast, while a strongly lit architectural photograph might look more effective with deeper shadows and brighter highlights.
The key is to adjust contrast to suit the subject.
Step 4: Refine the Tones Using Curves
Curves are among the most useful tools available for black and white photo editing.
Unlike a simple contrast slider, a curves adjustment allows you to influence different tonal regions of an image more precisely.
A typical photograph contains several broad tonal areas:
- Shadows: The darkest regions.
- Lower midtones: Darker areas that still contain visible detail.
- Midtones: The middle range of brightness.
- Upper midtones: Lighter areas below the highlights.
- Highlights: The brightest parts of the photograph.
By adjusting the curve, you can brighten or darken selected tonal regions without necessarily changing the entire photograph equally.
Using an S-Curve
A gentle S-shaped curve is a common technique for increasing contrast.
Typically, this involves slightly darkening the lower tones and brightening the upper tones.
The result can give a photograph more depth and definition.
However, strong curves adjustments can quickly produce blocked shadows or overly bright highlights.
Small, controlled adjustments are usually a better starting point.
Step 5: Understand Tonal Separation
One of the most important aspects of successful black and white photography is tonal separation.
Tonal separation describes how clearly different areas of a photograph can be distinguished by their brightness.
Consider a landscape containing green trees beneath a blue sky.
In the original colour photograph, the sky and trees are easily distinguishable because they have different colours.
After conversion, those areas might become similar shades of grey.
Using colour mixing and tonal adjustments, you can create greater separation between them.
This helps preserve depth, structure and visual interest in the finished photograph.
A useful technique is to temporarily view the image at a smaller size. This makes it easier to judge whether the main subjects and tonal areas remain clearly defined.
Step 6: Apply Sharpening Carefully
Sharpening can help emphasise fine details and textures in a black and white photograph.
It can be particularly effective for architectural details, stonework, foliage and other textured subjects.
However, excessive sharpening can introduce unwanted halos around edges and exaggerate image noise.
When applying sharpening:
- View the photograph at approximately 100% magnification.
- Begin with a modest sharpening adjustment.
- Examine important edges and fine details.
- Reduce the effect if visible halos or harsh textures appear.
The amount of sharpening required depends on the photograph, its resolution and its intended use.
A photograph prepared for printing may need different sharpening from one intended for display on a website.
Step 7: Consider Toning Your Black and White Photograph
Not every monochrome photograph needs to contain completely neutral shades of grey.
Traditional photographic processes often produced subtle colour casts, depending on the materials and techniques used.
Digital toning allows you to explore similar creative effects.
Popular approaches include:
Warm toning: Adds a subtle warm appearance that can suit portraits, landscapes and nostalgic subjects.
Cool toning: Introduces cooler tones that may complement architecture, winter scenes or dramatic subjects.
Neutral black and white: Retains a traditional monochrome appearance without intentional colour toning.
Toning is a creative choice rather than a necessary step.
If you prefer a pure black and white photograph, simply leave the image neutral.
Step 8: Save Your Finished Black and White Photograph
Once you’re happy with the result, save or export your finished photograph using the options provided by your editing software.
For photographs intended for websites or social media, JPEG is commonly used because it produces relatively small files.
PNG can also be useful where lossless image storage is preferred, although file sizes may be larger.
If your editor offers a way to preserve your editing work, consider keeping that version as well as the final exported image.
It’s also good practice to retain your original colour photograph so you can return to it if you decide to create a different black and white interpretation later.
An Easier Way to Edit Black and White Photos: DBW Monochrome
If you enjoy black and white photography and would like more control than a basic greyscale conversion provides, DBW Monochrome is a dedicated desktop photo editor designed specifically for monochrome photography.
Available for Mac and Windows, it brings together tools for black and white conversion and tonal editing in one application.
Rather than navigating a large general-purpose photo editor, you can concentrate on the adjustments that matter to black and white photography.
Its editing features include:
- Black and white colour mixing.
- Exposure and contrast adjustments.
- Curves for tonal control.
- Levels and Zone System adjustments.
- Paper Grade controls.
- Toning and sharpening.
- Cropping and vignette adjustments.
Whether you’re creating a dramatic landscape, a carefully balanced portrait or a traditional monochrome photograph, DBW Monochrome provides tools to help refine the final result.
Discover DBW Monochrome — Black and White Photo Editor for Mac and Windows
Frequently Asked Questions
What is the easiest way to make a photo black and white?
The easiest method is to open your photograph in a photo editor and select a greyscale or black and white conversion option. For greater creative control, use a black and white mixer to adjust how individual colours translate into grey tones.
Can I convert a colour photo to black and white on a Mac?
Yes. Mac computers support photo-editing applications that can convert colour photographs to black and white. Some provide basic conversion controls, while dedicated editors offer more advanced tonal adjustments.
Can I make a photo black and white on Windows?
Yes. Windows supports a wide range of photo-editing applications, including dedicated black and white editors such as DBW Monochrome.
Is greyscale the same as black and white?
The terms are often used interchangeably in digital photography. Greyscale describes an image containing shades of grey, from black through to white. In photography, black and white usually refers to the broader artistic process of creating and refining a monochrome image.
How can I make my black and white photos look better?
Pay particular attention to tonal separation, contrast, lighting and composition. Adjusting the black and white colour mixer, refining tones with curves and applying subtle sharpening can all help improve the finished photograph.
Final Thoughts
Making a photograph black and white is easy. Creating a compelling monochrome photograph takes a little more consideration.
The most successful results often come from carefully controlling how colours translate into grey tones, balancing highlights and shadows, and refining contrast to suit the subject.
Whether you prefer subtle, natural-looking photographs or bold, dramatic monochrome images, experimenting with these techniques can help you develop your own photographic style.
And if you’d like a dedicated editing application for Mac or Windows, DBW Monochrome provides a focused set of tools for exploring black and white photography.