
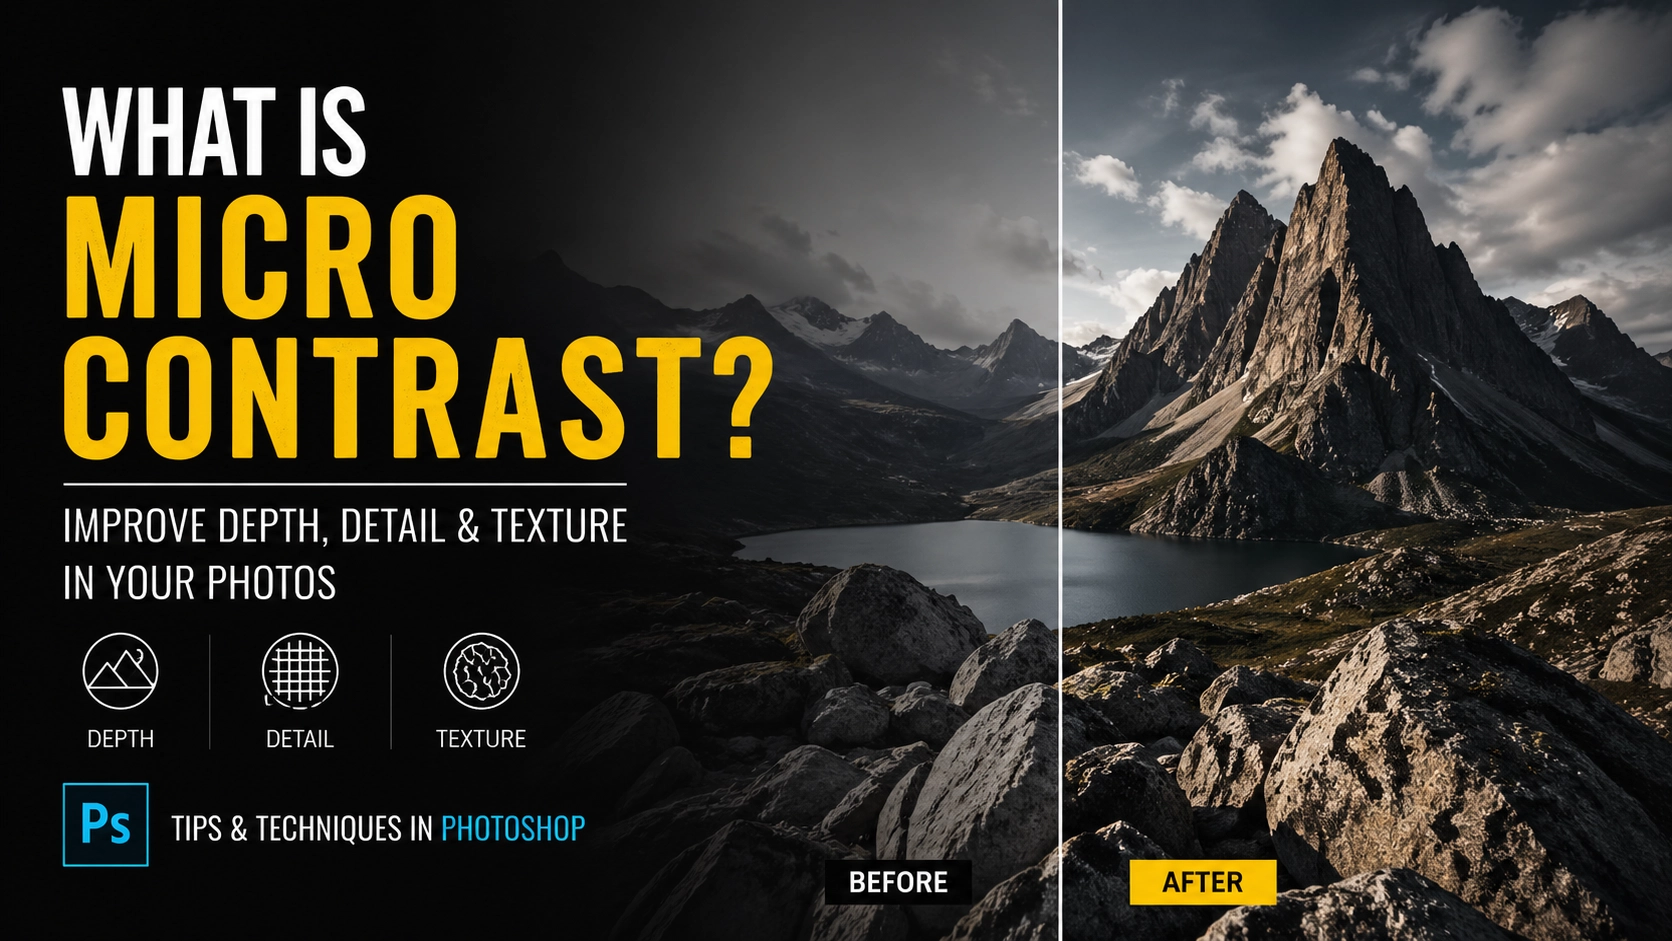
If you’ve ever edited a photo and felt like something was missing—even after adjusting contrast, sharpness, and clarit, you’re not imagining it.
The issue is often micro contrast.
It’s one of those subtle but powerful elements that separates a flat-looking image from one that feels rich, detailed, and three-dimensional.
What Is Micro Contrast?
Micro contrast refers to the contrast between very small tonal differences in an image.
Instead of affecting the whole image (like standard contrast), it works on a much finer leve, enhancing the separation between tiny details such as:
- Texture in rocks or skin
- Fine lines in architecture
- Subtle tonal transitions in black and white images
Think of it like this:
- Global contrast = overall light vs dark
- Micro contrast = detail within those areas
It’s what gives images that sense of depth, clarity, and realism.
Why Photos Often Look Flat
Most editing workflows focus on:
- Exposure
- Contrast
- Saturation
- Sharpness
But even after adjusting all of those, images can still feel dull.
That’s because:
- Increasing contrast can crush shadows or blow highlights
- Sharpening can introduce harsh edges or noise
- Clarity sliders can quickly look overprocessed
What’s missing is controlled, localised contrast at a fine level, micro contrast.
Micro Contrast vs Clarity vs Sharpness
These are often confused, but they behave very differently:
Micro Contrast
- Enhances subtle tonal differences
- Adds depth without harsh edges
- Looks natural when done correctly
Clarity
- Boosts midtone contrast
- Can create a “crunchy” or HDR look if overused
Sharpness
- Enhances edges only
- Doesn’t improve tonal depth
In short:
👉 Sharpness defines edges
👉 Clarity exaggerates contrast
👉 Micro contrast builds depth
Why Micro Contrast Matters (Especially in Black & White)
Micro contrast is particularly important in black and white photography.
Without colour, your image relies entirely on:
- Light
- Tone
- Texture
Enhancing micro contrast helps:
- Separate tonal areas
- Reveal fine detail
- Create a more dimensional look
This is often what gives high-end black and white images that “pop” without looking overprocessed.
How to Add Micro Contrast in Photoshop
There are several manual ways to achieve micro contrast, such as:
1. High Pass Filter (Low Radius)
- Duplicate layer
- Apply High Pass at a low radius
- Set blend mode to Soft Light or Overlay
2. Curves Adjustments
- Create subtle S-curves targeting specific tonal ranges
- Mask carefully to avoid global changes
3. Frequency Separation Techniques
- Separate texture and tone
- Enhance fine detail selectively
A Faster Way to Enhance Micro Contrast
If you regularly work with detailed images, especially black and whit streamlining this process makes a big difference.
Instead of building multiple adjustment layers each time, you can use a dedicated Photoshop Plugin designed specifically for enhancing micro contrast in a controlled, natural way.
👉 You can find one here:
https://www.digitalblackandwhite.co.uk/free-photoshop-plugin-micro-contrast/
Final Thoughts
Micro contrast is often the missing ingredient in photo editing.
It doesn’t shout for attention—but when it’s there, your images feel:
- More detailed
- More dimensional
- More professional
If your photos look technically correct but still lack impact, this is the adjustment worth exploring.