
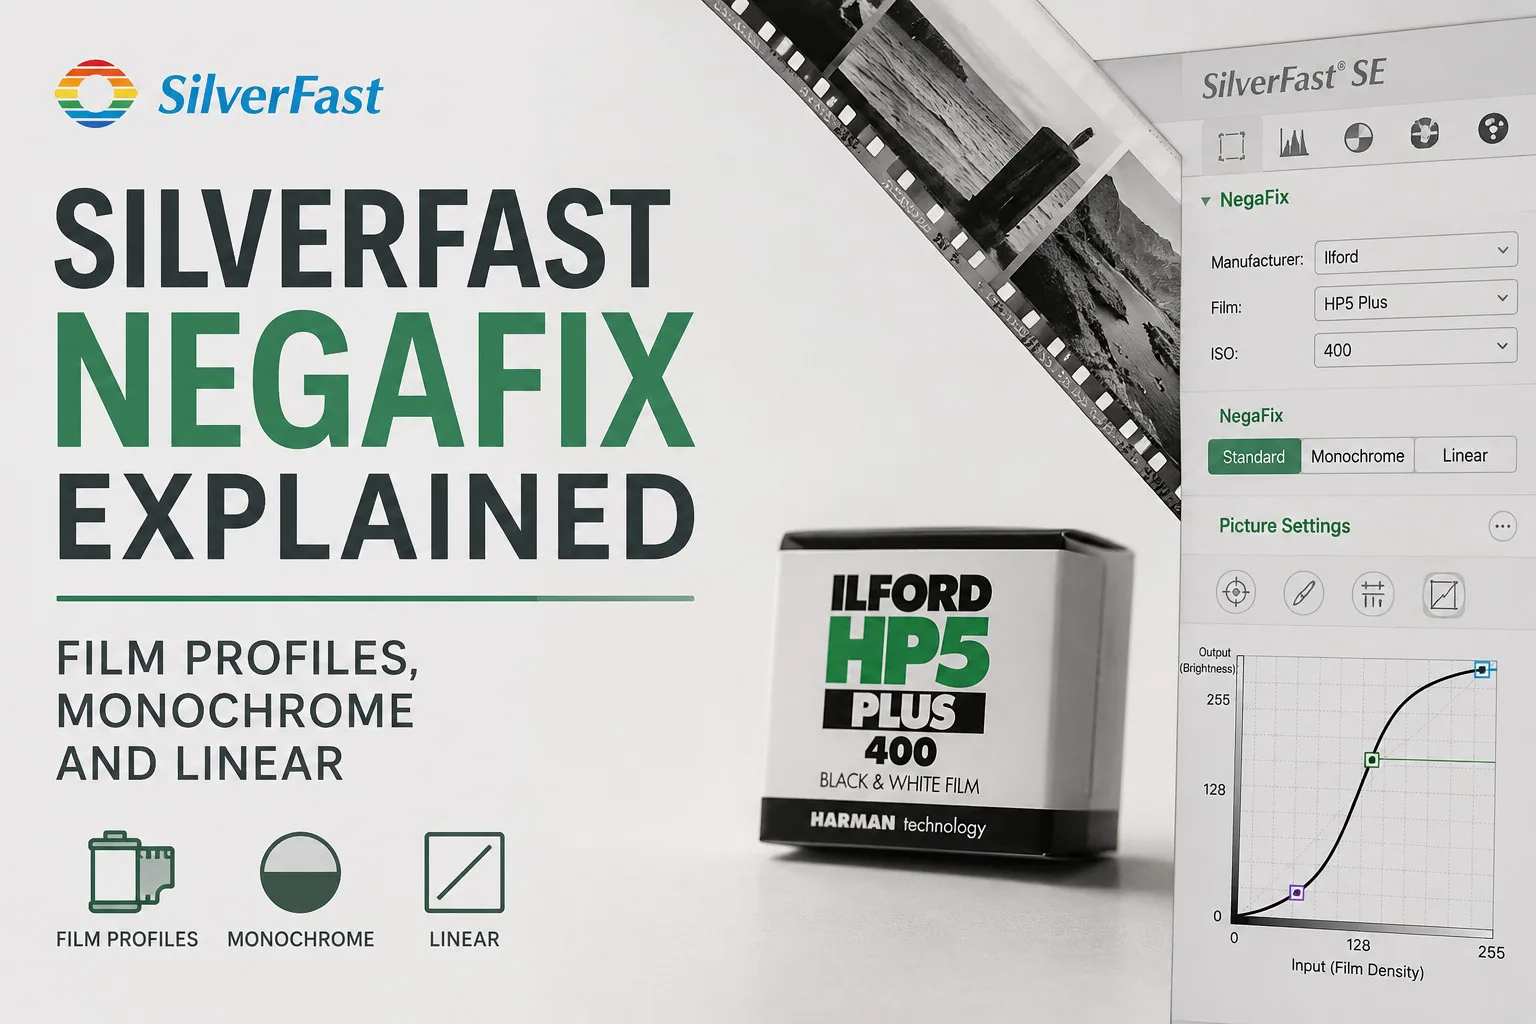
If you scan film negatives with SilverFast, you will almost certainly encounter NegaFix. It is one of SilverFast’s key tools for converting a scanned negative into a positive image, but exactly what NegaFix profiles do is not always obvious.
Why does SilverFast ask you to choose a film manufacturer, film type and ISO? What is happening when you select a profile such as Ilford HP5 Plus 400? And what are the Monochrome, Standard and Linear options that can appear alongside the named film profiles?
In this guide, I will look specifically at how NegaFix works, what SilverFast itself says about its film profiles and what the different profile choices mean when scanning black and white negatives.
What is SilverFast NegaFix?
NegaFix is SilverFast’s system for converting scanned film negatives into positive images.
According to LaserSoft Imaging, the company behind SilverFast, NegaFix provides more than 120 film profiles. These profiles take into account the film manufacturer, exact film type and what LaserSoft describes as the film’s photoresponse.
That last point is particularly important.
Different films do not respond to light in exactly the same way. Their tonal characteristics differ, which is one reason an Ilford HP5 Plus negative does not have exactly the same characteristics as an Ilford FP4 Plus, Kodak Tri X or another film.
NegaFix allows SilverFast to take those film characteristics into account during the negative to positive conversion.
How NegaFix works in SilverFast SE
When SilverFast is switched to Negative mode, the NegaFix controls become available.
In SilverFast SE, the NegaFix interface is deliberately quite simple. You normally make three selections:
Manufacturer
For example, Ilford.
Film
For example, HP5 Plus.
ISO
For example, 400.
SilverFast then uses the corresponding NegaFix profile when converting the negative.
LaserSoft’s own documentation describes these three menus as selecting the appropriate characteristics of the negative film:
- Manufacturer or film brand
- Film type or film name
- Film speed or sensitivity
Changes to these settings are applied to the preview, making it very easy to compare different profiles.
Example: scanning Ilford HP5 Plus 400
Suppose I am scanning a correctly exposed Ilford HP5 Plus negative shot at its box speed.
In NegaFix I can select:
Manufacturer: Ilford
Film: HP5 Plus
ISO: 400
Ilford HP5 Plus 400 is one of the dedicated profiles included in SilverFast’s published NegaFix profile list.
SilverFast therefore isn’t simply being told that the image is black and white. It is being given a profile specifically associated with HP5 Plus 400.
This is why selecting the correct film can visibly alter the tonal appearance of the converted image.
Is a NegaFix profile just a Photoshop Curves adjustment?
Not quite.
A curve is a useful way of visualising what is happening, particularly with black and white film, but describing an entire NegaFix profile as simply a Photoshop style curve would be an oversimplification.
LaserSoft specifically refers to film curves when discussing NegaFix profiles.
In the more advanced NegaFix Expert interface available in versions such as SilverFast Ai Studio, those curves can actually be edited. The Expert interface contains controls for the dynamic range as well as a Curves section used to characterise profiles.
So it is reasonable to think of a film characteristic curve when trying to understand the principle behind NegaFix.
However, the complete NegaFix processing should not be assumed to be identical to applying a single Curves adjustment in Photoshop.
A simplified way to visualise it
Imagine a graph where the horizontal axis represents the input from the film and the vertical axis represents the resulting tonal value.
A completely linear relationship would appear as a straight diagonal line.
A film characteristic response can instead be represented by a shaped curve.
The lower part of a traditional film characteristic curve is commonly described as the toe, followed by the main tonal region and finally the shoulder at the upper end.
This is a useful way of understanding why different film profiles can produce different tonal rendering.
It should, however, be treated as an illustration of the principle rather than a diagram of SilverFast’s complete internal processing.
What does the NegaFix Monochrome profile do?
Alongside specific films, SilverFast’s published NegaFix profile list includes a profile called Monochrome.
This is useful when working with black and white negative material where you do not want, or cannot use, a profile for a specific film stock.
There is an important distinction here.
If I know that my negative is Ilford HP5 Plus 400 and SilverFast provides an HP5 Plus 400 profile, I can select that specific profile.
If the exact black and white film is not available, Monochrome provides a generic monochrome option.
What I would not do is claim that Monochrome represents an “average black and white film curve”. LaserSoft lists Monochrome as a profile, but its public documentation does not appear to provide enough information about its mathematical construction to justify that description.
For practical purposes, think of it as:
Specific film profile: tailored to a named film
Monochrome: generic option for monochrome negative material
That distinction is useful when comparing scans.
What is the Linear option in NegaFix?
You may also encounter a Linear option.
This is particularly interesting if your aim is to retain a relatively neutral tonal starting point for processing elsewhere.
Unlike choosing a named film profile, Linear avoids applying the characteristic correction associated with a particular film profile.
The easiest way to visualise the difference is with a graph.
A film profile may be represented conceptually by a shaped response curve.
Linear is represented by a straight relationship between input and output.
This does not mean that selecting Linear necessarily produces completely untouched raw scanner data.
That distinction matters.
SilverFast is still operating within its negative scanning workflow, so I would avoid describing the result as a “raw scan” simply because Linear has been selected.
A better description is that Linear avoids applying a film specific characteristic curve, providing a more neutral starting point for subsequent tonal processing.
Linear is not necessarily the same as a linear raw scan
This deserves its own section because the terminology can become confusing.
A setting called Linear inside NegaFix and a genuinely linear scanner capture are not automatically the same thing.
The word linear describes a tonal relationship, but there can be other stages in a scanner’s processing pipeline.
Therefore:
NegaFix Linear does not automatically mean raw scanner data.
This distinction becomes particularly important if you intend to process your scans using specialist negative conversion software or your own workflow.
The safest approach is always to understand exactly what processing has already been performed before the image reaches the next stage.
What is the Standard profile?
SilverFast also provides a Standard profile.
Current SilverFast guidance states that if your particular film is not listed, you can choose a similar film or use the standard profile.
The documented selection is:
Manufacturer: Other
Film type: Other
ISO/ASA: Standard
This gives SilverFast a general profile to work from rather than pretending that the negative belongs to a specific film stock.
For unknown negatives, that can be preferable to choosing an arbitrary named film purely because its preview happens to look attractive.
NegaFix in SilverFast SE versus Ai Studio
There is another important distinction if you are using SilverFast SE.
SilverFast SE provides a simplified NegaFix interface.
You can select the appropriate manufacturer, film and ISO and adjust the available controls, but SE does not include the NegaFix Expert interface.
The Expert controls are available in higher versions such as SilverFast Ai Studio.
NegaFix Expert provides much deeper control over the profile, including access to the curves used to characterise it. LaserSoft also states that Ai Studio users can modify existing film profiles and create their own.
So if you see tutorials showing people manually editing NegaFix film curves, do not assume those controls are available in SilverFast SE.
They are not.
Which NegaFix profile should I use for black and white negatives?
For a known film, I would start with the profile designed for that film.
For example:
Ilford HP5 Plus 400 → Ilford HP5 Plus 400 profile
Ilford FP4 Plus 125 → Ilford FP4 Plus 125 profile
Ilford Delta 100 → Ilford Delta 100 profile
Kodak Tri X 400 → Kodak Tri X 400 profile
SilverFast’s published NegaFix list contains profiles for all of these films.
That does not mean the dedicated profile must always give you the artistic interpretation you prefer. It simply gives you the logical starting point intended for that particular film.
For unknown or unsupported black and white film, I would compare the available generic options rather than arbitrarily choosing an unrelated film profile.
Should you always use the correct NegaFix film profile?
If your objective is to use SilverFast to produce a finished or near finished positive image, selecting the correct film profile is the sensible starting point.
But there is another type of scanning workflow.
You might want the scanner to perform as little tonal interpretation as possible because you intend to perform the conversion or tonal rendering later.
That is where understanding options such as Linear becomes much more important.
Rather than asking:
“Which profile looks best?”
it can be more useful to ask:
“At what stage in my workflow do I want the tonal characteristics of the negative to be interpreted?”
If SilverFast is going to produce your finished conversion, the film specific NegaFix profile makes considerable sense.
If another application is going to perform the main tonal conversion, you need to understand what SilverFast has already done to the scan before handing the file to that application.
HP5 Plus 400 versus Monochrome versus Linear
One of the best ways to understand NegaFix is to perform a simple experiment.
Take one black and white negative, preferably one where you know the exact film stock, and scan it several times without changing the scanner exposure or other processing controls.
For an HP5 Plus 400 negative, compare:
Ilford HP5 Plus 400, Monochrome, Linear
Place the resulting images side by side.
Look particularly at:
Shadow separation, Midtone contrast, Highlight rendering, Overall tonal distribution
The important question isn’t simply which version initially looks the most dramatic.
Look at how much interpretation each option is introducing into the scan.
That tells you far more about how NegaFix fits into your particular scanning workflow.
NegaFix and colour negatives
Although I have concentrated on black and white film here, NegaFix is also designed for colour negatives.
This introduces another major consideration: the coloured mask found on conventional colour negative film.
SilverFast’s current documentation specifically states that choosing the appropriate film in NegaFix helps ensure that the orange mask is correctly removed during the transformation from negative to positive.
This is another reason why describing NegaFix as simply a Photoshop Curves adjustment isn’t accurate.
With colour negative material, film specific colour behaviour and mask handling also become part of the conversion process.
How many NegaFix profiles does SilverFast include?
LaserSoft Imaging currently advertises more than 120 NegaFix film profiles.
These cover both colour and black and white films from numerous manufacturers.
Examples include films from:
Agfa, Fuji, Ilford, Kodak, Konica, Polaroid, and others.
The available profile list also includes generic choices such as Monochrome and Standard (SilverFast).
LaserSoft states that the latest NegaFix profiles available for your scanner are installed with SilverFast.
Does the NegaFix profile affect the final scan?
Yes.
Changing the selected NegaFix profile can change the appearance of the converted image because SilverFast is changing how it interprets the negative.
This is why I would recommend choosing your NegaFix settings deliberately rather than simply accepting whatever happens to be selected by default.
For black and white photographers in particular, compare the shadows, midtones and highlights when switching between profiles.
The differences can tell you a great deal about how much of the final tonal appearance is coming from the negative itself and how much is being introduced during conversion.
Final thoughts
NegaFix is much easier to understand once you stop thinking of the film selections as simple labels.
Selecting Ilford HP5 Plus 400 is not merely telling SilverFast the name printed on the film box. You are selecting a NegaFix profile intended for that particular film.
LaserSoft says its film profiles take into account the manufacturer, exact film type and the film’s photoresponse.
For black and white scanning, the three options worth understanding are therefore:
Film specific profiles, such as Ilford HP5 Plus 400, which use a profile intended for a particular film.
Monochrome, which provides a generic monochrome profile rather than one associated with a specific film stock.
Linear, which avoids the characteristic correction of a particular film profile and can provide a more neutral starting point for further processing.
Understanding those differences gives you much greater control over your scanning workflow and, more importantly, lets you make an informed decision about where you want the interpretation of your negative to take place.
Official SilverFast references
LaserSoft Imaging’s official NegaFix information states that SilverFast provides more than 120 profiles and that these take the manufacturer, exact film type and film photoresponse into account.
LaserSoft’s SilverFast manual documents the three NegaFix film selection controls as manufacturer, film type and film speed. It also confirms that SilverFast SE uses a simplified NegaFix interface and does not provide the NegaFix Expert dialogue.
The current SilverFast 9 First Steps guide explains the role of NegaFix when converting negatives and recommends the Standard profile when the exact film is unavailable.
Download Silverfast and give it a try
If you’d like to try SilverFast with some of your own black and white film negatives, I strongly recommend downloading the 30-day free trial directly from the official Silverfast Website.