
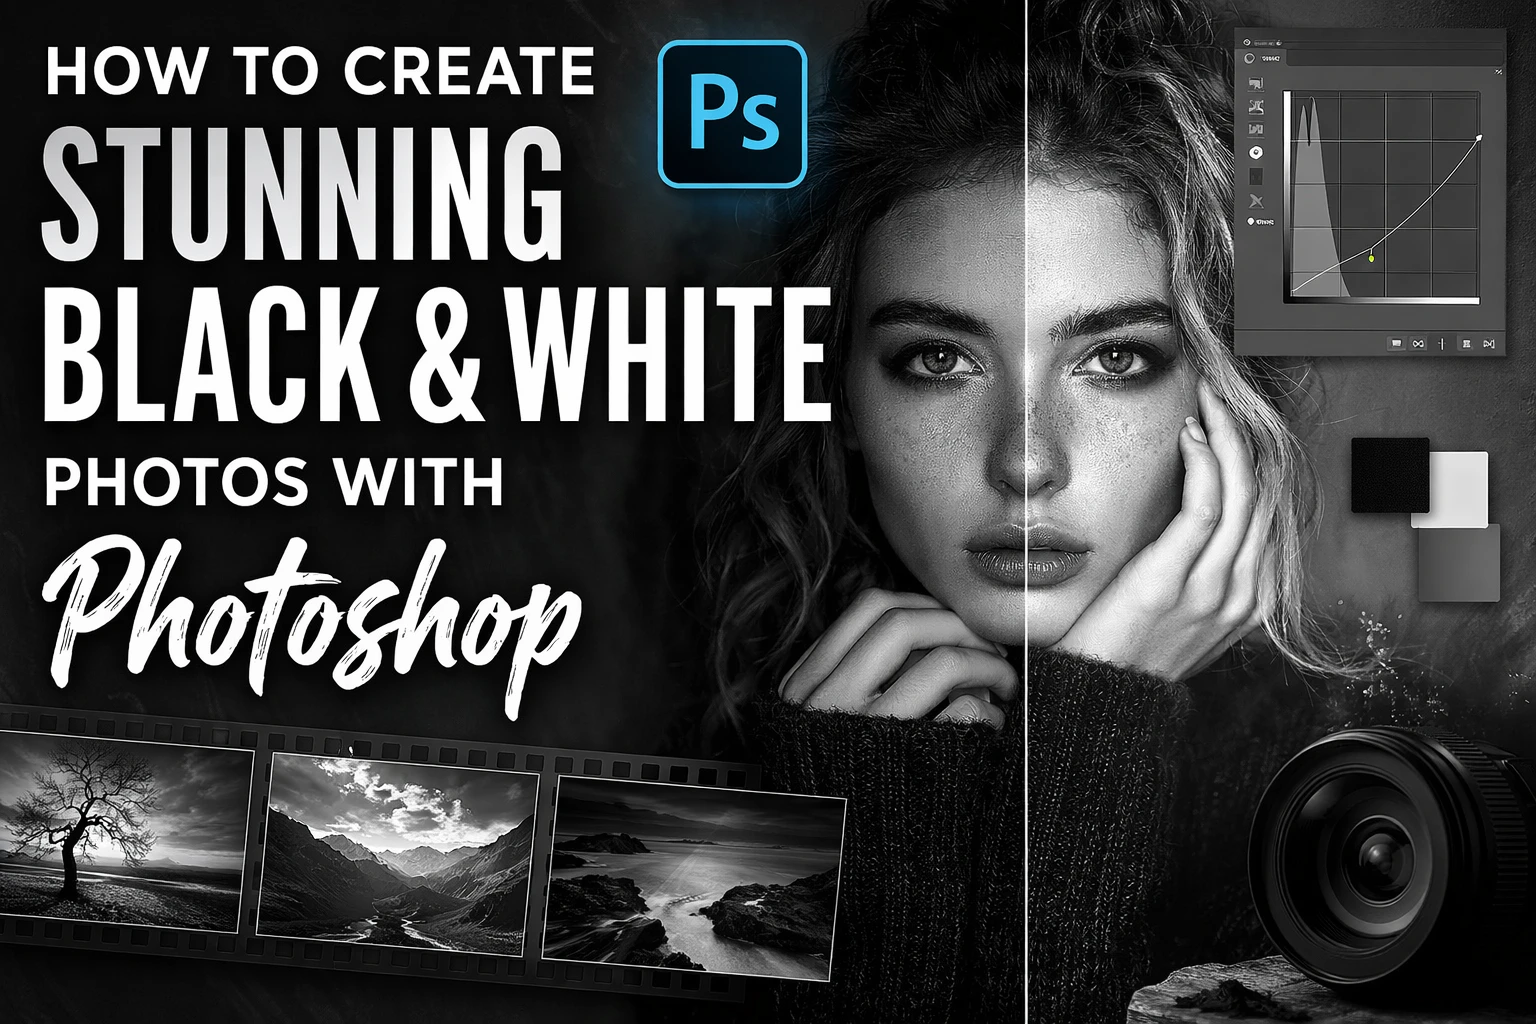
How to Create Stunning Black and White Photos with Photoshop
Black and white photography has a timeless quality that captures emotion, drama, and depth. Whether you’re an aspiring photographer or an experienced pro, learning how to create stunning black and white photos with Photoshop is an essential skill to master. In this step-by-step Photoshop black and white tutorial, we will guide you through the process of converting your photos into stunning black-and-white images in Photoshop, and share useful tips for achieving a professional finish.
Step 1: Start with a High-Quality Image
The foundation of a stunning black-and-white photo is a high-quality image. Black and white photography works best with images that have strong contrast, defined lighting, and intricate textures. A well-composed image whether it’s a portrait, a landscape, or an architectural shot can make a huge difference when converted to black and white.
Before converting to grayscale, ensure that your image is sharp and well-exposed. Adjust the exposure, clarity, and sharpness to make sure the photo is ready for Photoshop‘s black and white editing process.
Step 2: Convert Your Image to Black and White in Photoshop
Now that you have the perfect photo, it’s time to turn it into a black and white image in Photoshop. Here’s how you can do it:
- Open your image in Photoshop.
- Click on the “Image” menu, then select “Adjustments” and choose “Black & White.”
- Photoshop will automatically convert your image to grayscale. However, to make the photo more visually striking, you can adjust the individual color sliders to control the tones and contrast of different elements.
For instance, the “Red” slider will influence skin tones in portraits, while the “Blue” slider can brighten or darken skies and water in landscapes. These subtle adjustments help you create the perfect black-and-white photo with Photoshop.
Step 3: Add Contrast with the Curves Tool
Contrast is essential for giving your black-and-white photos the drama and depth they need. To adjust the contrast, use the Curves Tool in Photoshop:
- Go to Image > Adjustments > Curves.
- In the Curves dialog box, you’ll see a graph that represents the tonal range of your image.
- Adjust the shadows, midtones, and highlights by creating anchor points on the curve. A subtle S-curve works wonders for boosting contrast, making your black-and-white photo pop.
Enhancing contrast will give your image more depth and bring out intricate details that make black-and-white photography stand out.
Step 4: Enhance Image Details Using the High Pass Filter
To bring out even more detail in your black-and-white photo, you can sharpen specific areas using the High Pass Filter. Here’s how:
- Duplicate your black-and-white image layer.
- Go to Filter > Other > High Pass.
- Set the radius to a low value (around 1-3 pixels) and click “OK.”
- Set the duplicate layer’s blending mode to Overlay or Soft Light.
This will enhance details like textures or edges in the photo, making the black-and-white image appear more dynamic and sharp.
Step 5: Add a Vignette for More Drama
Adding a vignette subtly darkens the edges of the image, drawing focus to the center. This technique is perfect for black-and-white photos, especially portraits or street photography. Here’s how to add a vignette in Photoshop:
- Create a new layer.
- Use the Elliptical Marquee Tool to select an oval area around the center of your image.
- Go to Select > Inverse, then fill the selected area with black or dark gray.
- Apply Gaussian Blur to soften the vignette effect and reduce any harsh lines.
- Lower the layer opacity for a more subtle, professional look.
A vignette adds that extra dramatic flair, particularly in black-and-white photography.
Step 6: Fine-Tune Using Dodge and Burn
The Dodge and Burn tools in Photoshop are invaluable for fine-tuning the highlights and shadows in your image. Here’s how to use them to enhance your black-and-white photo:
- Create a new layer and set its blending mode to Overlay.
- Fill the layer with 50% gray (Edit > Fill > 50% Gray).
- Use the Dodge Tool (to lighten) and Burn Tool (to darken) selectively. Work with a low brush opacity to build up the effect gradually.
This technique is perfect for adding depth, texture, and dynamic contrasts, which are crucial elements of black-and-white photography.
Step 7: Final Touches and Exporting Your Black and White Photo
Once you’ve applied all the adjustments, it’s time for some final tweaks:
- Noise Reduction: If your image has grain, apply Noise Reduction by going to Filter > Noise > Reduce Noise.
- Levels Adjustment: Use Image > Adjustments > Levels to fine-tune your brightness and contrast.
- Sharpening: Apply sharpening by going to Filter > Sharpen > Unsharp Mask to enhance the fine details.
Once you’re satisfied with the result, save the image in your preferred format (JPEG, TIFF, etc.), ready to be shared or printed.
Conclusion: Create Masterpieces with Photoshop Plugins for Black and White Photography
Creating stunning black-and-white photos with Photoshop takes practice and skill. However, by following the steps outlined in this Photoshop black and white tutorial, you can quickly transform your images into professional-quality works of art. From converting photos to black and white, adjusting contrast, adding details, and fine-tuning with tools like Dodge and Burn, you now have all the techniques needed to excel.
To speed up your workflow, don’t forget to explore our collection of Photoshop plugins for black and white photography. These tools make editing faster, easier, and more efficient, allowing you to achieve professional results in just a few clicks.
Ready to create stunning black-and-white photos in Photoshop? Check out our Photoshop plugins for the best tools to enhance your black and white photography!